Whilst travelling and teaching in Chile, my friend Ben and I had lost our camera whilst in Santiago, so went the next day to Maipu to buy a new camera. We were on a money saving mission and I paid somewhere in the region of $10,000 - $20,000 (CLP). Which is about £12 - £22 on a Genius Advanced digital lens upto 12mega pixel camera. The camera was great for the time but soon fell out of my graces when we landed on home soil and it's low mega pixel and short battery life were outweighed by the quality and ease of just having an iPhone.
Having now been sat in a cupboard for the better half of three years it was decided that it'd be much better if taken apart to uncover the secrets within. Here is the journey.


Now, when the camera was whole, there was a small toggle you could press on the right hand side with a picture of hills and then one of a flower. It would appear these were to give a landscape and portrait effect to the images being taken, although in truth there was a very marginal difference between the images. left - portrait right - landscape


At the back we can start to see the motherboard with its in-built controls that attach to the monitor. The monitor itself is a "2.7 inch 39 pin TXDT270CDR-8 LCD SCREEN Digital camera monitor" which hopefully can be used in later projects. The monitor simply unplugged from the motherboard and can easily be used again. Also to be seen is a small capacitor which we believe is used to store energy which eventually allows the "flash" which would make sense as I could never flash when on the last two bars of battery.


Having now been sat in a cupboard for the better half of three years it was decided that it'd be much better if taken apart to uncover the secrets within. Here is the journey.


Thus far, thus easy. The above photos show the front "shell" with all the information attached clipped to the camera. At the back two solitary wires connect to the "capture" button which allows us to take photos.
In the third photo you can see where the SD card inserts. Just in front of that (closer to the front of the photo) is where the lithium battery sits. The battery itself is 3.7v / 550mAh which I can use in the future if i can find a safe way to charge it.
 |
| A small weight has been added to make the camera seem more 'authentic' |


I'd originally thought this would be a digital alteration but was actually achieved mechanically using a push lever up or down. The affect of pushing the lever is changing the focus of the lens, though to two specific places so not very useful.
 |
| The lever that changes the focus of the lens |


There was lots of salvageable parts including the little screws which will come in useful in the future.
One of the parts I was most fascinated with was the lens, which was just two moveable bits of metal attached to the glass to change the focus.


I couldn't get the glass itself out but overall it was fun to disassemble, though not designed to be taken apart so impossible to put back together again.
I'm looking forward to playing about with the monitor in the future - if anyone has instructions for these or know where I can find some it would be hugely appreciated.
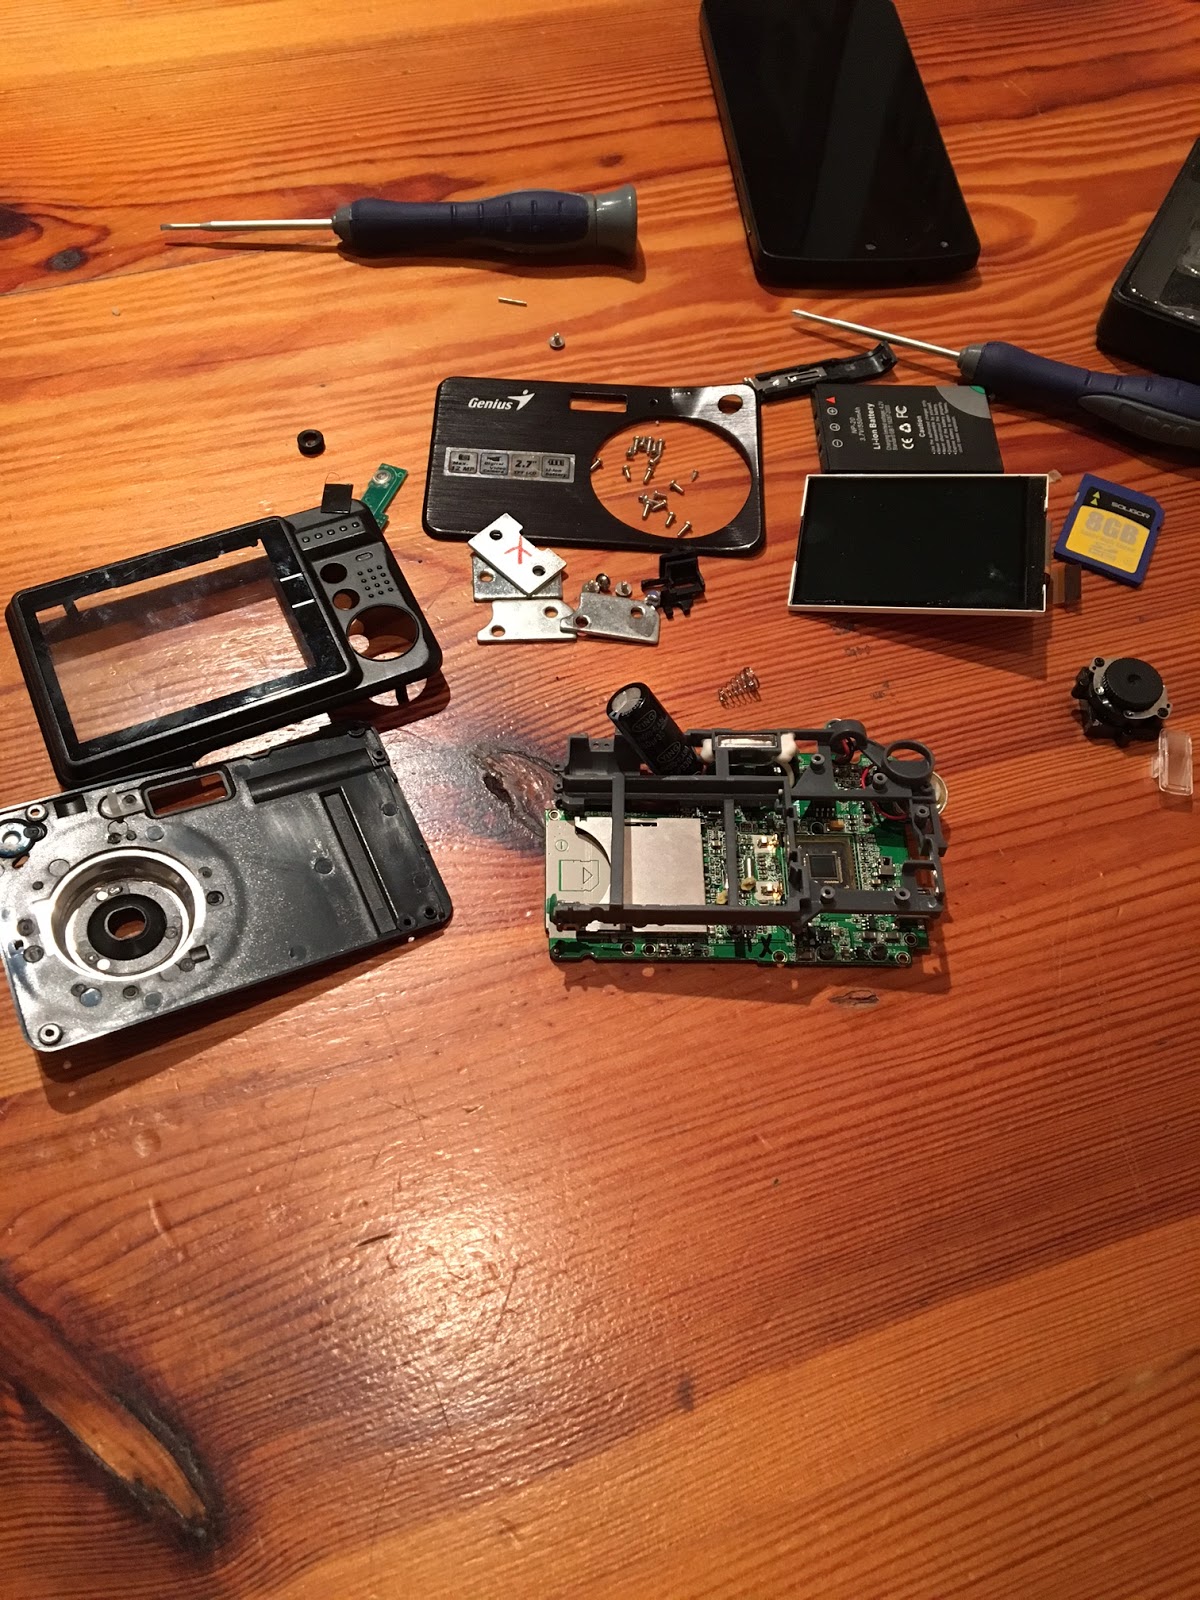 |
| All the bits in a single photo. |
No comments:
Post a Comment